LinterGUI
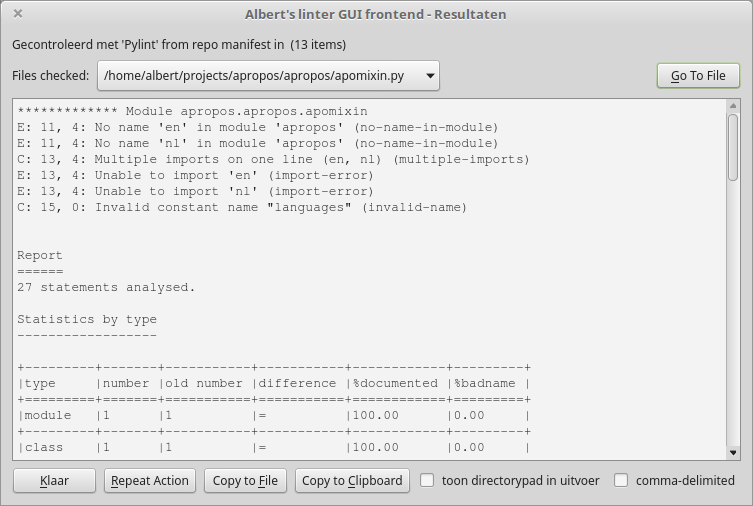
On the first line of the screen is a short summary of what's been done is shown. The line below it contains a selector indicating for which file the output is shown; next to it is a button that makes it possible to immediately open this file in a text editor. Which editor to use is configurable in the global settings (not from the gui).
The main portion of the screen is obviously the linting results.
On the bottom line are some buttons controlling what happens next: you can go back to the main screen, recheck all (useful after you've done modifications based on the results), copy the results to one or more files, or copy the results to the clipboard so you can paste them into e.g. a text editor. When copying, you can choose to include the full file paths in the output; it's also possible to get the results in csv format.
When choosing to copy to file, a dialog is presented where you can define how to:
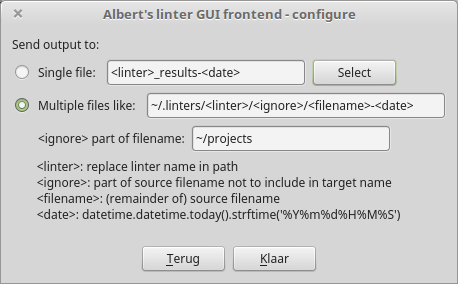
This is basically the choice of one file or several; you can also define a pattern for the filenames. It's the same dialog you get on the main screen to configure the file output.